Project Bespin
Media: Real-Time Environment
Duration: 1 Month
Languages: C#, Unity ShaderLab
Engine: Unity
Team Size: 7
Role: Rendering Engineer
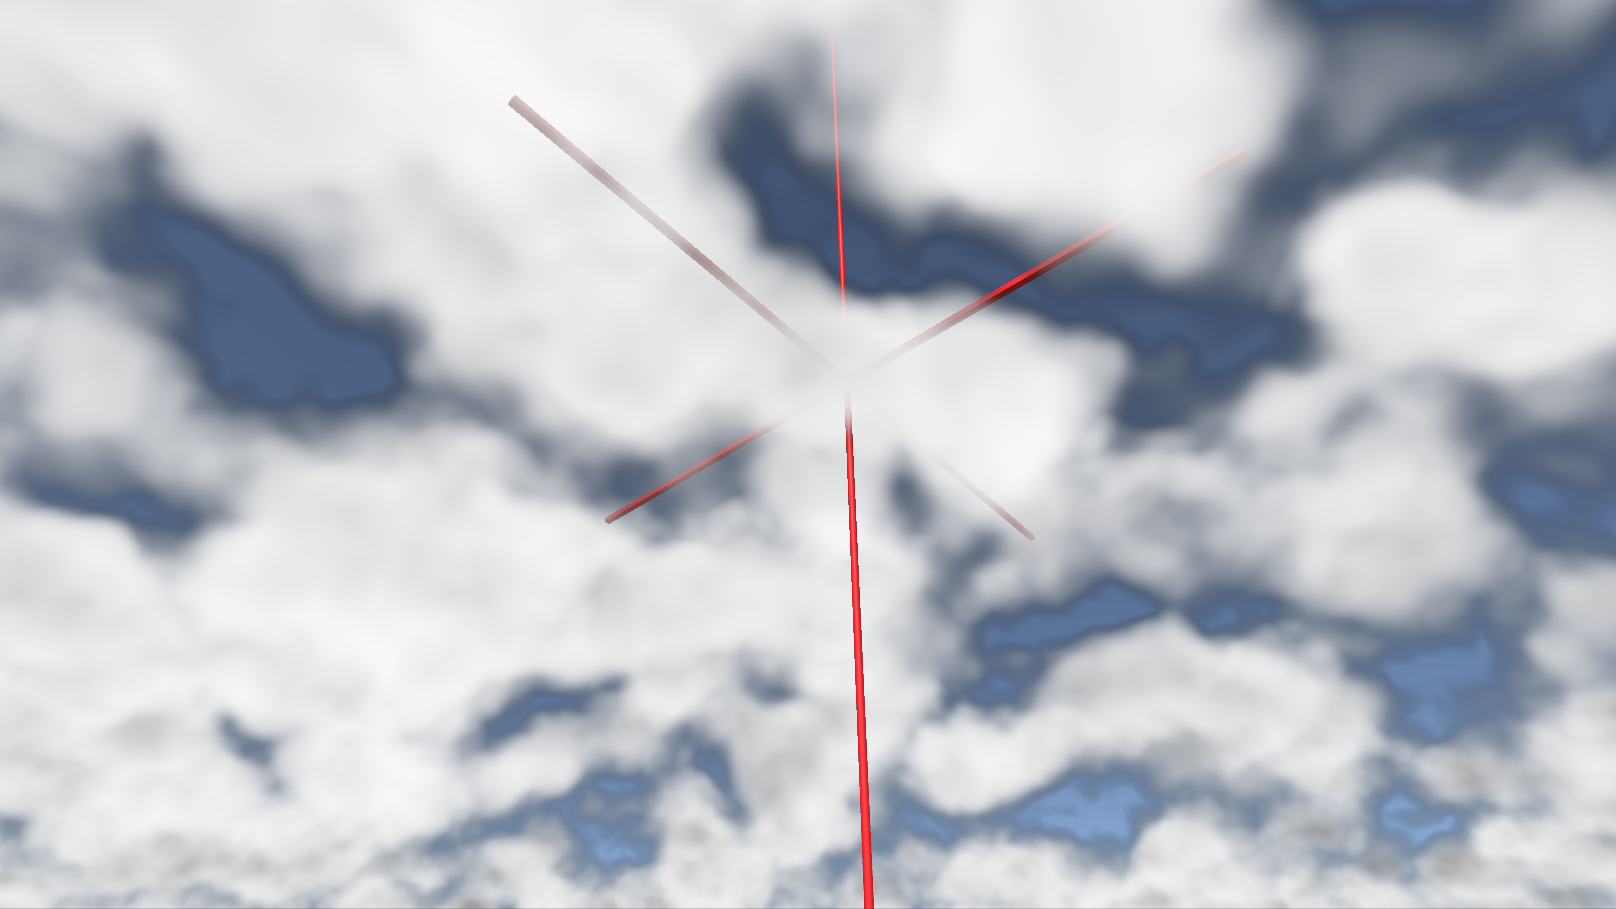
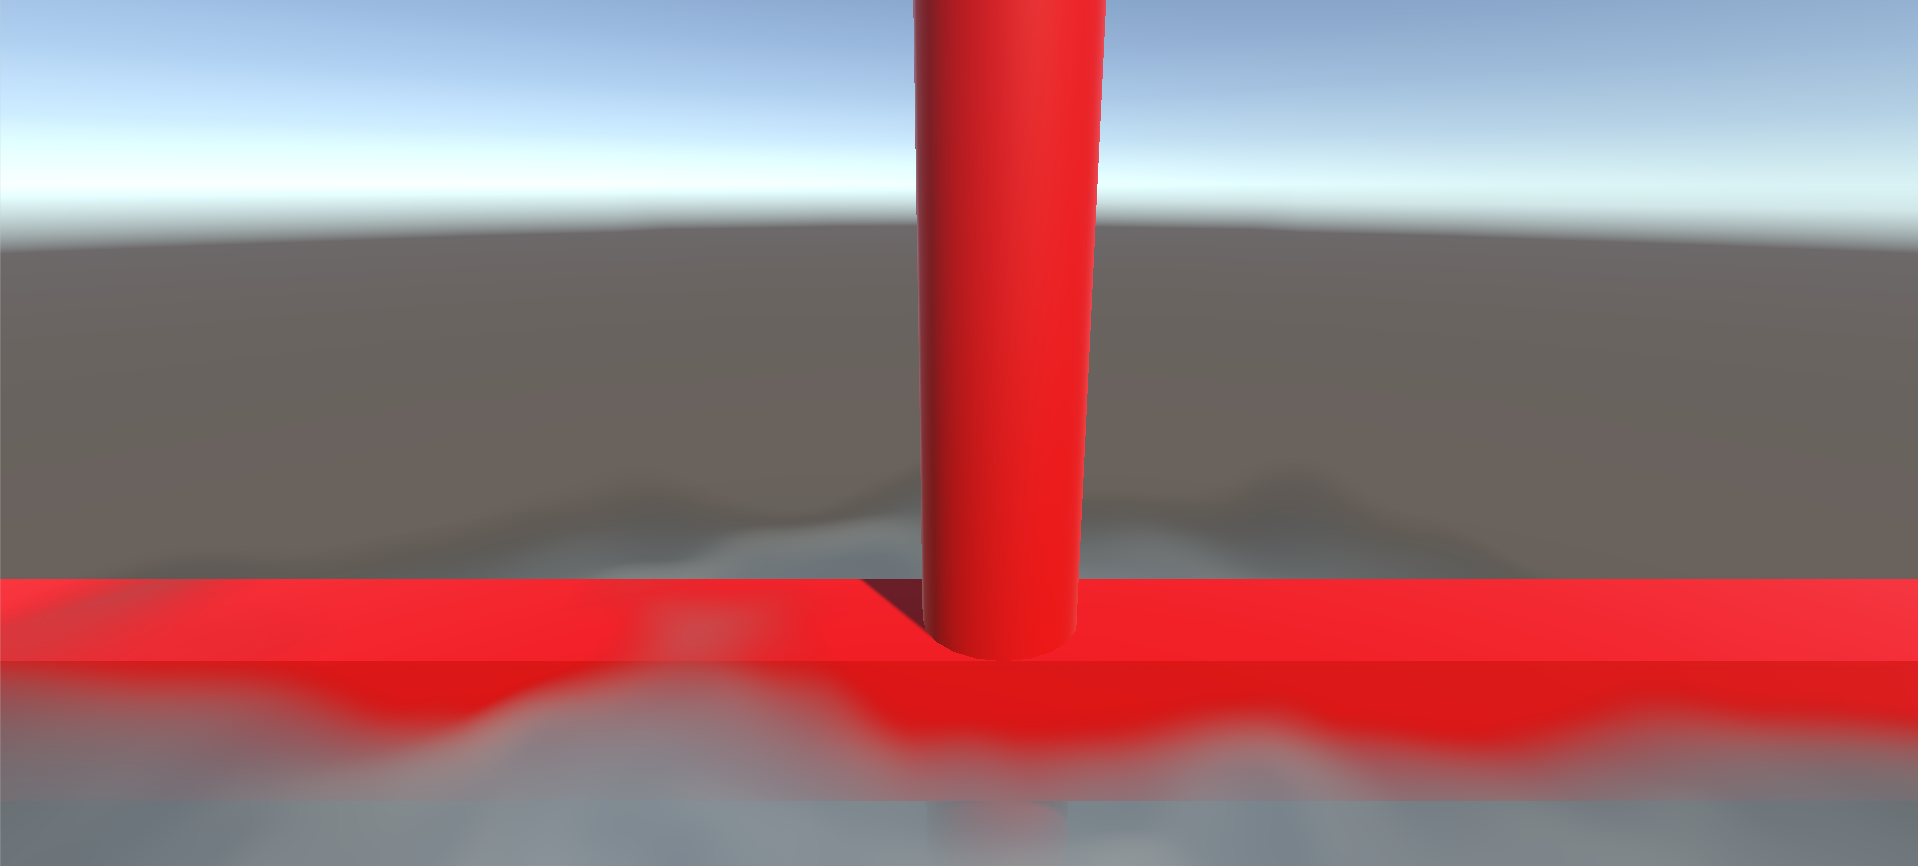
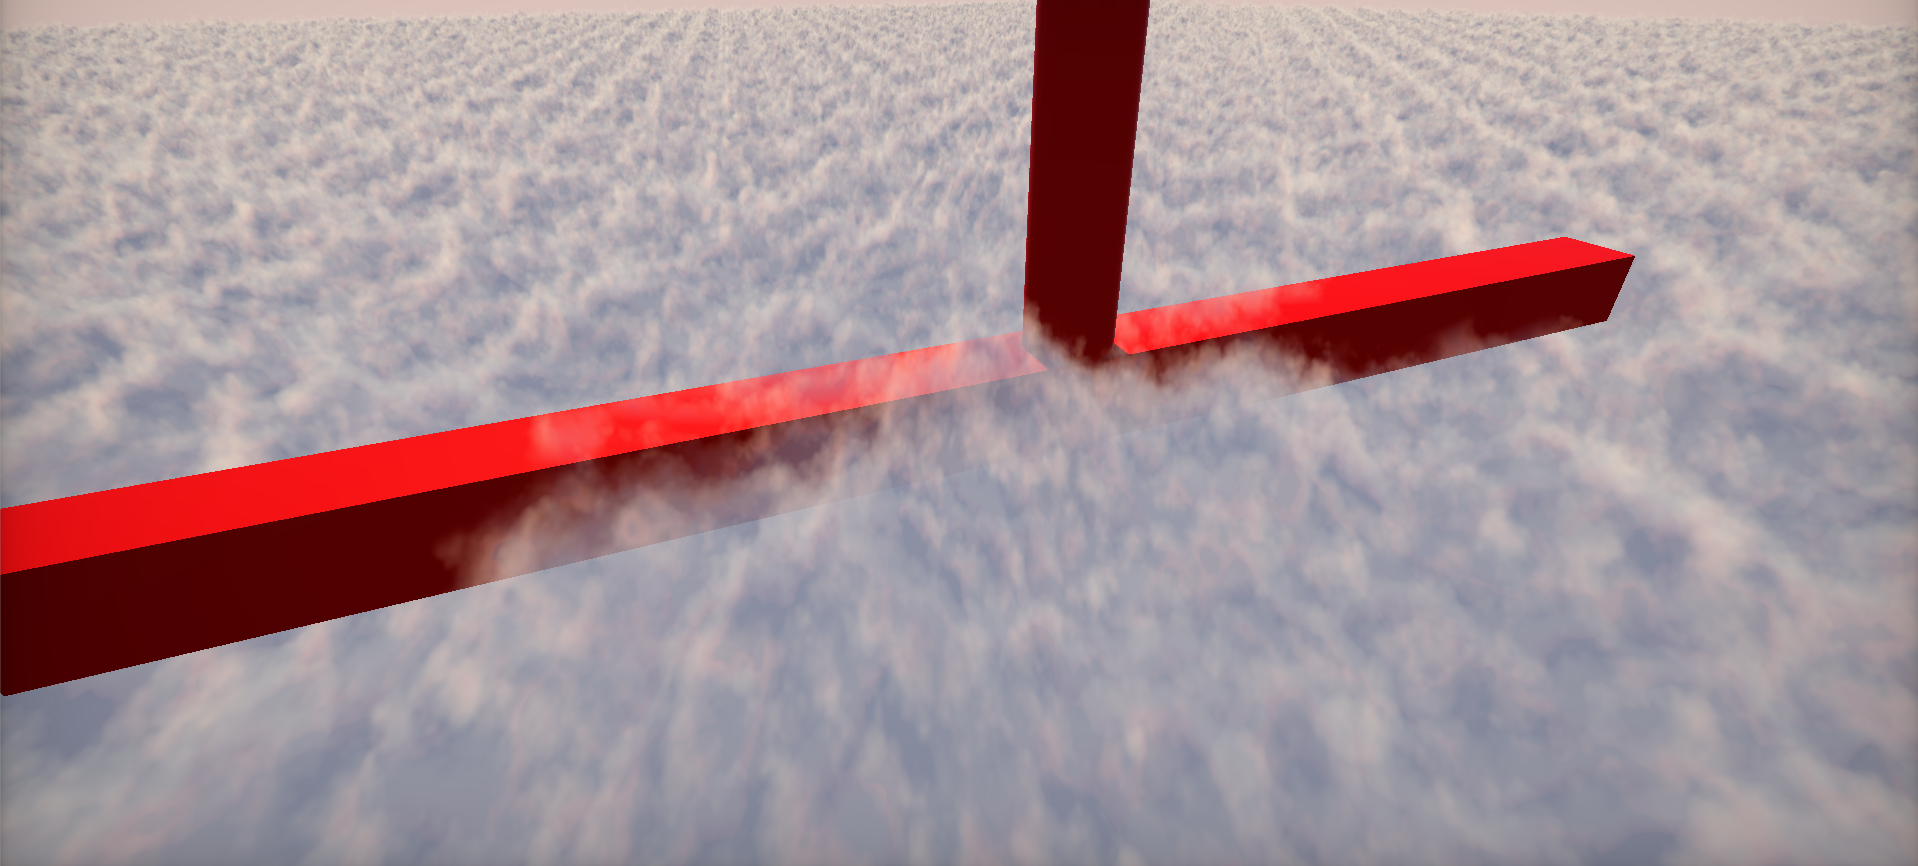
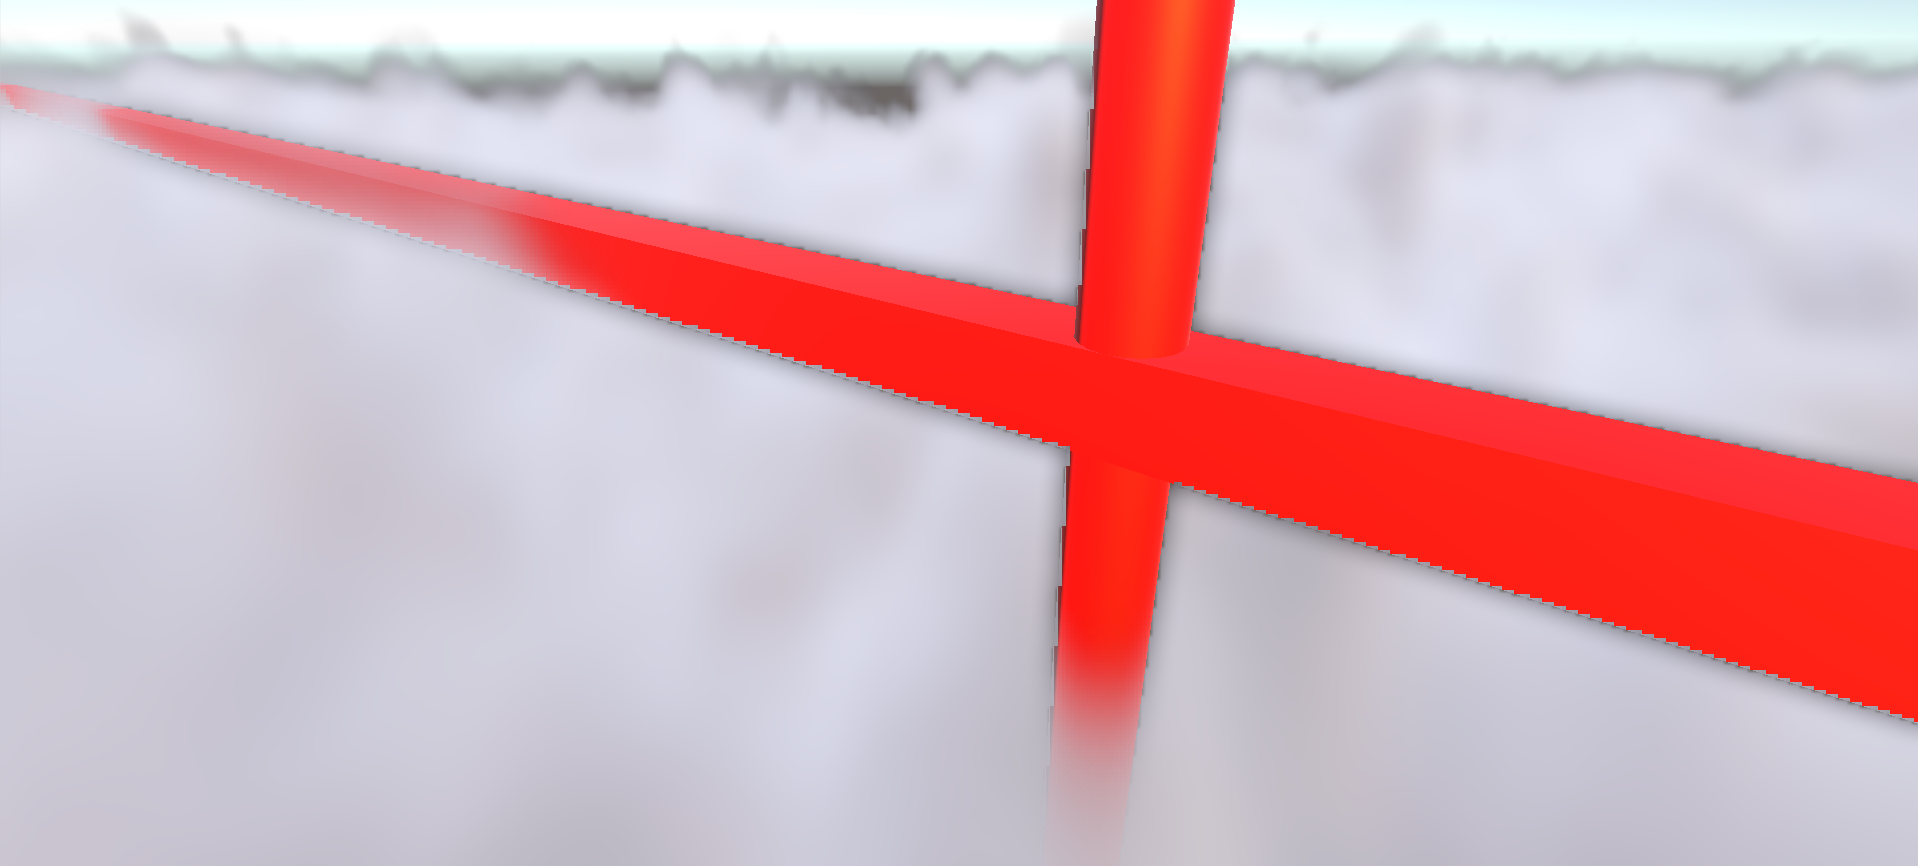
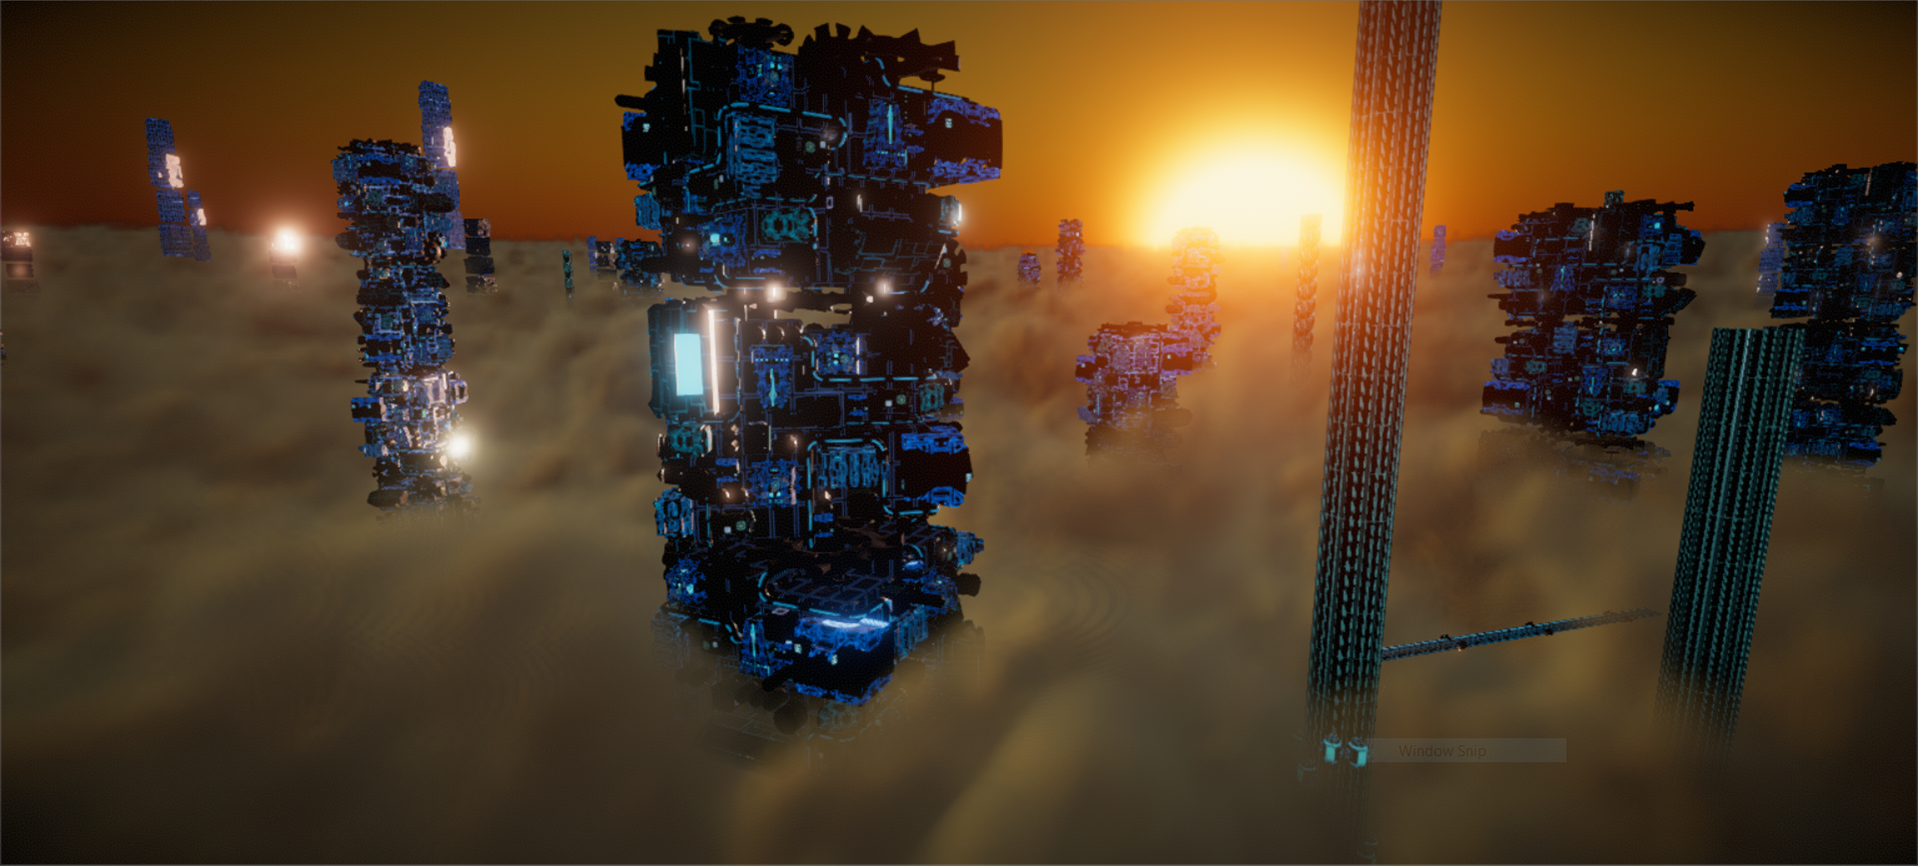
This work was done for the Unity Neon Challenge, a contest challenging Unity developers to create a real-time environment using the tools that Unity developed for the Adam series. As part of the team, I handled the cloud blanket effect seen in the video.
I began with Inigo Quilez's Clouds entry on ShaderToy which uses raymarching and noise sampling to naturally render volumes of fog, then later found the VolSample research repo on GitHub from Huw Bowles, Daniel Zimmerman, and Beibei Wang and added my prior development onto that.
The final result is a heavily tooled, considerably performant cloud volume renderer. As I developed this solution, I geared it towards the problems we faced for our own environment as part of the Neon Challenge. If I revisit this, I would likely take a more "grounded" approach instead of planning for things like flying the camera through the fog and shifting the clouds to have different properties at runtime.
Notable Experiences
- Adapted several ShaderToy/GLSL shader implementations to work alongside the Unity rasterizer.
- Tooled my final product for my team members to be able to intuitively change properties of the clouds without my help.
- Optimized the raymarching process with basic raytracing techniques with regards to the constraints of the rendering volume.
- Implemented an adaptive resolution rendering scheme to avoid upsampling artifacts (the upsampling shaders by Michal Skolsky came from this package).
